🍞 No-Knead Sandwich Bread – The Easiest Homemade Bread You’ll Ever Make
There’s something magical about baking bread from scratch—watching simple ingredients transform into a warm, golden loaf that fills the kitchen with that unmistakable aroma. But let’s be honest: traditional bread-making can be intimidating. Kneading, proofing, timing—it’s easy to get overwhelmed.
That’s why this no-knead sandwich bread is such a game changer.
This recipe is my go-to when I want fresh, homemade bread without the fuss. No eggs. No butter. No stand mixer. And best of all? No kneading. It’s soft, fluffy, and slices like a dream. Whether you’re a seasoned baker or someone who’s never made bread before, you can make this recipe—and fall in love with how simple it is.
🛒 Ingredients You’ll Need
Just 5 pantry-friendly ingredients stand between you and your new favorite loaf:
- 3 ½ cups (440g) all-purpose flour – You can also use bread flour for slightly more structure.
- 1 ½ cups (360ml) warm water – Ideally around 100–110°F (38–43°C), to activate the yeast.
- 2 teaspoons sugar – Helps feed the yeast and adds a subtle flavor.
- 1 ½ teaspoons salt – Essential for flavor.
- 2 ¼ teaspoons (1 packet) instant yeast – Also known as quick-rise or rapid-rise yeast.
No milk, eggs, or butter needed—which makes this recipe naturally dairy-free and budget-friendly.
🥣 Step-by-Step Instructions
1️⃣ Activate the Yeast
In a large mixing bowl, stir together the warm water, sugar, and instant yeast. Let it sit for 5–10 minutes. You should see bubbles and foam forming on top—this means the yeast is active and ready to go.
Tip: If your mixture doesn’t foam, your yeast might be expired or the water was too hot. Try again with fresh yeast and check the water temperature.
2️⃣ Make the Dough
Add in the flour and salt. Mix everything with a wooden spoon, spatula, or even your hands until you get a sticky, shaggy dough. Don’t overmix and don’t worry about perfection—this dough is meant to be messy.
It’s supposed to be a little sticky! That moisture helps give it a beautiful crumb and soft texture.
3️⃣ First Rise
Cover the bowl with plastic wrap or a clean kitchen towel. Let it sit at room temperature for 1 hour, or until the dough has doubled in size. It should look puffy and full of air bubbles.
Find a warm, draft-free place to let it rise. An oven with the light turned on (but not the heat!) works well.
4️⃣ Transfer to Loaf Pan
Grease a standard 8.5×4.5″ or 9×5″ loaf pan. Scrape the dough into the pan using a spatula. Gently smooth the top with a wet spatula or your fingers.
Let it rest again for about 30 minutes to puff up slightly.
5️⃣ Bake
Preheat your oven to 375°F (190°C). Bake the loaf for 30–35 minutes, until the top is golden brown and the loaf sounds hollow when tapped.
Optional: Brush the top with a little oil or melted butter for shine (skip butter to keep it dairy-free).
6️⃣ Cool & Slice
Let the bread cool in the pan for 5–10 minutes before removing it to a wire rack. Let it cool completely before slicing. This helps lock in moisture and keeps the inside from becoming gummy.
🥪 Why You’ll Love It
- Effortless: No kneading. No mixer. No complicated steps.
- Versatile: Use it for toast, sandwiches, French toast, or paninis.
- Budget-Friendly: Only a handful of ingredients and no specialty tools.
- Crowd-Pleaser: Every time I make this, people ask for the recipe—and a second slice.
🔁 Variations to Try
- Add-ins: Mix in herbs, garlic powder, or shredded cheese to the dough before baking.
- Whole wheat version: Replace up to 1½ cups of flour with whole wheat flour for more fiber and a nuttier flavor.
- Seed topping: Sprinkle sesame seeds, oats, or poppy seeds on top of the dough before baking.
❄️ Storage Tips
Once completely cooled, store your bread in an airtight container or bread bag at room temperature for up to 4–5 days. You can also slice and freeze it! Just thaw slices in the toaster or microwave whenever you need.
💬 Final Thoughts
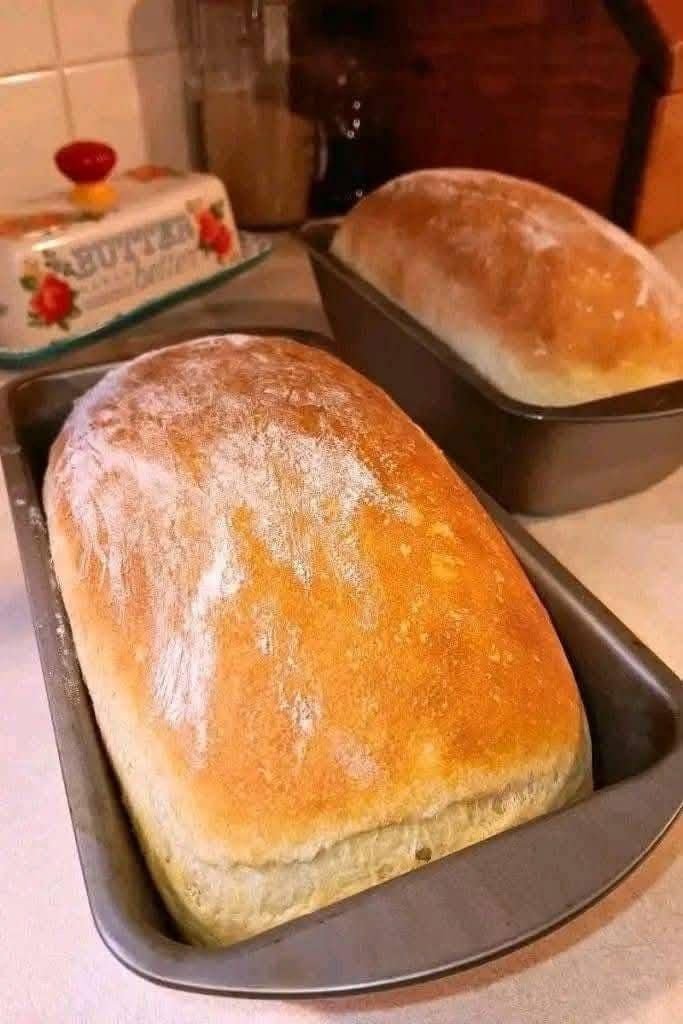
This no-knead sandwich bread is the recipe that made me believe in homemade bread again. It’s so easy, so reliable, and so good, it’s become a staple in my kitchen. Whether you’re meal prepping for the week or just craving a thick slice of toast with your morning coffee, this loaf has you covered.
Make it once, and I guarantee it won’t be the last time. In fact, don’t be surprised if you start making two loaves at a time—one to eat and one to actually share.